
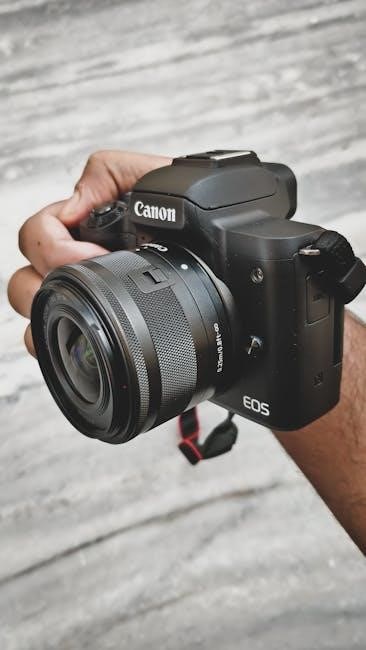
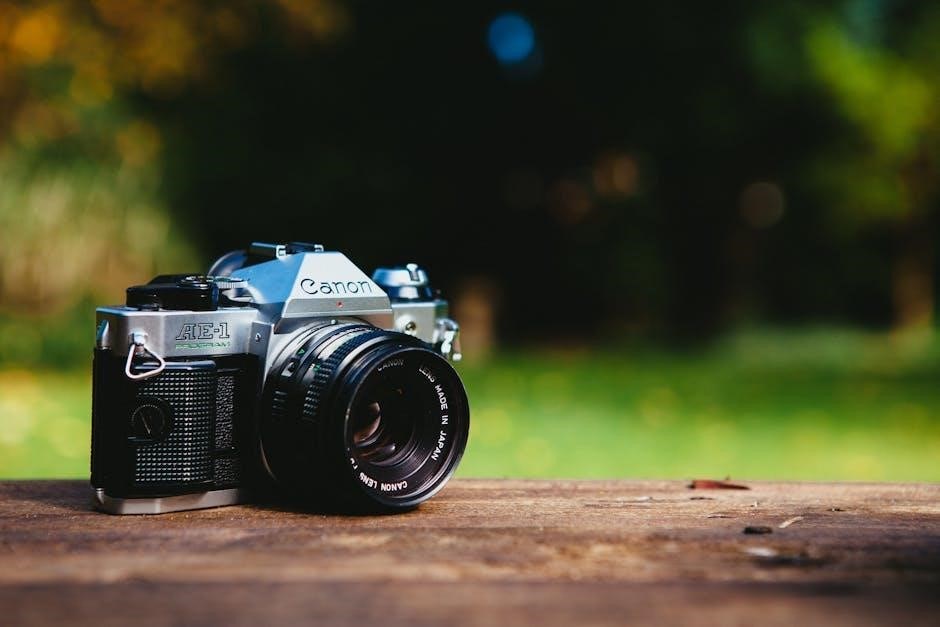
The Canon A-1, introduced in 1978, is a legendary 35mm film SLR camera designed for professionals and hobbyists alike. This manual guides users through its advanced features, ensuring optimal performance and creative control, making it an essential resource for mastering the camera’s capabilities.
1.1 Overview of the Canon A-1 Camera
The Canon A-1, introduced in 1978, is a highly regarded 35mm film SLR camera known for its durability and advanced features. Designed for both professionals and enthusiasts, it offers aperture priority and manual modes, compatibility with Canon FD lenses, and a built-in metering system, making it a versatile and popular choice among photographers.
1.2 Importance of the Manual for Optimal Use
The Canon A-1 manual is essential for unlocking the camera’s full potential. It provides detailed guidance on mastering advanced features, troubleshooting common issues, and understanding best practices for film photography. By following the manual, users can optimize their shooting experience, ensuring precise control over exposure, focus, and creative techniques, making it indispensable for both beginners and experienced photographers.
Key Features of the Canon A-1
The Canon A-1 boasts an advanced built-in metering system, aperture priority, and manual modes, offering precise control. Its compatibility with Canon FD lenses enhances versatility for various photography needs.
2.1 Built-in Metering System
The Canon A-1 features a sophisticated built-in metering system, providing accurate light measurements for optimal exposures. It supports both aperture priority and manual modes, ensuring precise control over lighting conditions. This system is essential for achieving professional-quality results, making it a standout feature for photographers seeking reliability and creative flexibility.
2.2 Aperture Priority and Manual Modes
The Canon A-1 offers Aperture Priority and Manual modes, catering to both automatic and manual shooting preferences. In Aperture Priority, users set the aperture, and the camera adjusts the shutter speed. Manual mode allows full control over both aperture and shutter speed, enabling precise artistic expression and technical accuracy, ideal for experienced photographers seeking creative freedom.
2.3 Compatibility with Canon FD Lenses
The Canon A-1 is compatible with a wide range of Canon FD lenses, offering exceptional optical quality and versatility. From wide-angle to telephoto and macro lenses, the FD series provides photographers with numerous creative options. This compatibility ensures the A-1 can adapt to various shooting scenarios, making it a reliable choice for diverse photography needs and preferences.
Getting Started with the Canon A-1
Welcome to the Canon A-1! This section guides you through unboxing, initial setup, and understanding basic camera controls to ensure a smooth start with your photography journey.
3.1 Unboxing and Initial Setup
Unboxing your Canon A-1 is an exciting experience. Carefully inspect the camera for any damage or defects. Attach the lens, ensuring it clicks securely into place. Familiarize yourself with the camera’s layout, including the shutter dial, aperture ring, and metering switch. Before use, load film and install the batteries. These steps ensure your camera is ready for optimal performance.
3.2 Basic Camera Controls and Functions
The Canon A-1 features intuitive controls for seamless operation. The shutter speed dial sets exposure time, while the aperture ring adjusts lens opening. The metering switch toggles between ambient and flash modes. The film advance lever moves to the next frame, and the self-timer ensures hands-free shooting. Familiarizing yourself with these controls enhances your shooting experience and ensures precise results.

Loading Film in the Canon A-1
Load film by opening the camera back, aligning the film cartridge, and advancing the film to the take-up spool. Ensure the film is properly seated and threaded through the sprocket teeth for accurate frame spacing. Always handle film in low-light conditions to prevent exposure.
4.1 Step-by-Step Film Loading Process
Open the camera back by pulling the release latch. Insert the film cartridge, aligning it with the spool; Gently pull the film leader to the take-up spool, ensuring it fits securely. Advance the film by turning the rapid rewind knob until it stops. Close the back, then wind the film to the first frame. Check the frame counter to confirm loading.
4.2 Tips for Proper Film Handling
- Always store film in a cool, dry place to prevent degradation.
- Avoid exposing film to direct sunlight to minimize fogging.
- Handle film gently, avoiding contact with the emulsion side to prevent scratches.
- Load film in low-light conditions to reduce exposure to light.
- Use film before its expiration date for optimal quality.
- Store unused film in its original packaging, ideally in the refrigerator.

Understanding the Exposure System
The Canon A-1’s exposure system balances aperture, shutter speed, and ISO, utilizing its built-in light meter to ensure precise control over lighting conditions for optimal image results.
5.1 Aperture, Shutter Speed, and ISO
Aperture regulates light entry, shutter speed controls exposure duration, and ISO sets film sensitivity. Balancing these elements ensures proper exposure. The Canon A-1’s built-in meter aids in precise adjustments, allowing users to achieve desired creative effects by manually or automatically controlling these settings for optimal results in various lighting conditions.
5.2 Using the Built-in Light Meter
The Canon A-1 features a built-in light meter for precise exposure calculation. It measures ambient light and provides accurate readings, allowing users to adjust aperture and shutter speed manually or automatically. The meter ensures optimal exposure in various lighting conditions, simplifying the process of capturing well-balanced images with minimal effort.
Lens System and Accessories
The Canon A-1 utilizes the FD mount, offering compatibility with a wide range of Canon FD lenses, from wide-angle to telephoto; Popular accessories include flashes and remote shutters for enhanced functionality.
6.1 Overview of Canon FD Lenses
Canon FD lenses are renowned for their exceptional optical quality and versatility. Available in a wide range of focal lengths, from wide-angle to telephoto, these lenses offer manual focusing and aperture control. Designed for the FD mount, they seamlessly integrate with the Canon A-1, providing precise control and compatibility for both professional and enthusiast photographers.
6.2 Recommended Accessories for the Canon A-1
Essential accessories for the Canon A-1 include high-quality lens cleaning kits to maintain optical clarity, a remote shutter release for minimizing camera shake, and a durable camera strap for secure handling. Additional items like a lens hood and filters enhance functionality, while a sturdy camera bag protects the equipment during transport, ensuring longevity and optimal performance of the camera and its lenses.
Maintenance and Care
Regular maintenance ensures the Canon A-1’s longevity. Clean the camera and lenses with a soft cloth and avoid harsh chemicals. Store the camera in a dry, cool place to prevent damage and extend its lifespan.
7.1 Cleaning the Camera and Lenses
Regular cleaning is essential for maintaining the Canon A-1’s performance. Use a soft, dry cloth to wipe the camera body and avoid harsh chemicals. For lenses, gently remove dust with a microfiber cloth or a lens brush. Avoid touching the lens surface to prevent smudges. Proper cleaning ensures clear images and prolongs the camera’s lifespan.
7.2 Regular Maintenance Tips
Regular maintenance ensures the Canon A-1 operates smoothly. Check and clean the mirror and viewfinder periodically. Lubricate moving parts if necessary, but avoid over-lubrication. Store the camera in a cool, dry place to prevent moisture damage. Replace the battery every five years to avoid corrosion. Proper care extends the camera’s functionality and ensures reliable performance for years to come.
Advanced Techniques
The Canon A-1 offers advanced techniques like manual mode, aperture priority, and creative exposure control, enabling precise and artistic photography for professional results.
8.1 Using Manual Mode Effectively
Manual mode on the Canon A-1 offers full control over aperture and shutter speed, enabling precise adjustments for creative photography. Use the built-in light meter to guide settings, ensuring optimal exposure in various lighting conditions. This mode is ideal for experienced photographers seeking to experiment with artistic techniques and achieve desired visual effects in their work.
8.2 Creative Photography with the Canon A-1
The Canon A-1 excels in creative photography, offering precise control over aperture and shutter speed to capture unique effects. Experiment with depth of field, motion blur, and low-light scenarios using its manual capabilities. Pair it with Canon FD lenses for stunning results, from portraits to landscapes. Its portability and reliability make it ideal for photographers seeking to push creative boundaries and explore artistic expression.
Troubleshooting Common Issues
The Canon A-1 may experience issues like shutter malfunctions or metering inaccuracies. Regular cleaning, recalibrating, and consulting the manual can often resolve these problems effectively.
9.1 Resolving Shutter and Metering Problems
Shutter issues may arise from dirt or worn curtains. Clean gently with a soft brush. Metering problems often result from incorrect settings or low battery. Ensure proper battery installation and check aperture/shutter speed alignment. If problems persist, recalibrate the metering system or consult a professional technician for precise adjustments to restore functionality. Always refer to the manual for detailed troubleshooting steps.
9.2 Addressing Film Loading and Advancement Issues
Film loading issues often occur due to improper alignment or failure to secure the film properly. Ensure the film is correctly seated on the spool and advanced to the first frame. If the film doesn’t advance, check for obstructions or dirty rollers. Partially exposed rolls can be rewound using the rewind knob. Always refer to the manual for detailed film handling procedures to avoid damage.