Water softener regeneration is essential for maintaining efficiency and ensuring soft water production. It involves flushing out calcium and magnesium minerals from the resin bed, restoring its capacity. While modern systems often regenerate automatically, manual processes are sometimes necessary to address specific issues or optimize performance. This guide provides a comprehensive overview of manual regeneration, including preparation, steps, and troubleshooting tips to keep your water softener functioning effectively.
What is Water Softener Regeneration?
Water softener regeneration is the process of removing accumulated calcium and magnesium minerals from the resin bed inside the softener. These minerals cause water hardness and reduce the system’s efficiency over time. Regeneration restores the resin’s ability to soften water by flushing out the captured minerals. It typically involves a brine solution that rinses the resin, allowing it to replenish its sodium or potassium ions, which are essential for softening water. This process can be automatic or manual, depending on the system. Regular regeneration ensures consistent soft water quality and prevents damage to the softener and connected appliances. It is a critical maintenance step for maintaining optimal performance and extending the lifespan of the water softening system.
Why Manual Regeneration is Necessary
Manual regeneration is necessary to ensure the water softener operates efficiently. Over time, the resin beads become saturated with minerals, reducing their ability to soften water. Without regular regeneration, water quality decreases, and appliances may suffer from mineral buildup. Manual regeneration allows users to control and initiate the process, especially when the automatic feature isn’t functioning or when immediate action is needed. It’s also useful during system setup or after extended periods of inactivity. This process helps maintain optimal performance, prevents damage, and ensures a steady supply of soft water. Regular manual regeneration can extend the lifespan of the softener and connected appliances, making it a crucial maintenance step for homeowners dealing with hard water issues.
Understanding the Process
Manual regeneration restores a water softener’s efficiency by flushing out accumulated minerals from the resin bed, ensuring it continues to soften water effectively and maintain water quality.
How Resin Beads Work in Water Softeners
Resin beads are the core component of water softeners, designed to trap calcium and magnesium ions that cause water hardness. These beads are coated with sodium or potassium ions, which are exchanged with the hardness minerals during the softening process. As hard water flows through the resin bed, the beads attract and retain calcium and magnesium, releasing sodium or potassium into the water instead. Over time, the resin becomes saturated with hardness minerals, reducing its effectiveness. Regeneration is necessary to flush out these accumulated minerals and recharge the beads with fresh sodium or potassium ions, restoring their ability to soften water efficiently.
The Role of Salt in Regeneration
Salt plays a crucial role in water softener regeneration by facilitating the exchange of ions on the resin beads. During regeneration, a brine solution, typically made from salt, is flushed through the resin bed. This solution helps to remove accumulated calcium and magnesium ions, replacing them with sodium or potassium ions. The salt dissolves in water to create a concentrated brine, which is drawn into the mineral tank during the regeneration cycle. Without sufficient salt, the brine solution is ineffective, and the resin beads cannot be properly recharged. Regularly replenishing the salt supply ensures the softener operates efficiently, producing soft water consistently. Proper salt levels are essential for maintaining the effectiveness of the regeneration process and overall system performance.

Preparation for Manual Regeneration
Before manually regenerating your water softener, ensure the system is bypassed to isolate it from the water supply. Gather necessary supplies, including salt and a drain source, and consult your manual for specific instructions to avoid errors during the process.
Supplies Needed for Manual Regeneration

To manually regenerate your water softener, you’ll need a few essential supplies. These include high-quality salt (preferably pure, non-iodized), a drain hose, and a bucket or sink for wastewater discharge. A bypass valve is necessary to isolate the system from your home’s water supply. Additionally, protective gloves and eyewear are recommended to ensure safety during the process. Some systems may require a manual regeneration button or specific settings, so it’s crucial to consult your owner’s manual. Having these supplies ready will help ensure a smooth and effective regeneration process, restoring your water softener’s efficiency and performance.
Bypassing the Water Softener System
Bypassing your water softener is a critical step before manual regeneration. Locate the bypass valve, typically found near the softener, and turn it to isolate the system from your home’s water supply. This prevents untreated water from flowing through the softener during regeneration. Ensure the valve is fully turned to the “bypass” position to stop water flow to the unit. Once bypassed, the softener can safely undergo regeneration without disrupting your household water supply. This step is essential to avoid any interference with the regeneration process and to maintain water quality in your home. Always refer to your system’s manual for specific bypass instructions, as valve locations and types may vary.

Step-by-Step Guide to Manual Regeneration
Manual regeneration involves preparing the brine solution, initiating the cycle, and completing the process. Start by bypassing the system to isolate it from water supply. Add water to the salt tank if necessary, ensuring proper brine concentration. Press and hold the REGEN button for 3-5 seconds to initiate the cycle. The system will flush the resin bed with brine, rinsing out minerals. Monitor the process, which typically lasts 30-120 minutes, depending on the system size. Once complete, ensure the softener is back in service mode. Regular manual regeneration ensures optimal performance and prevents mineral buildup. Always refer to your system’s manual for specific instructions.
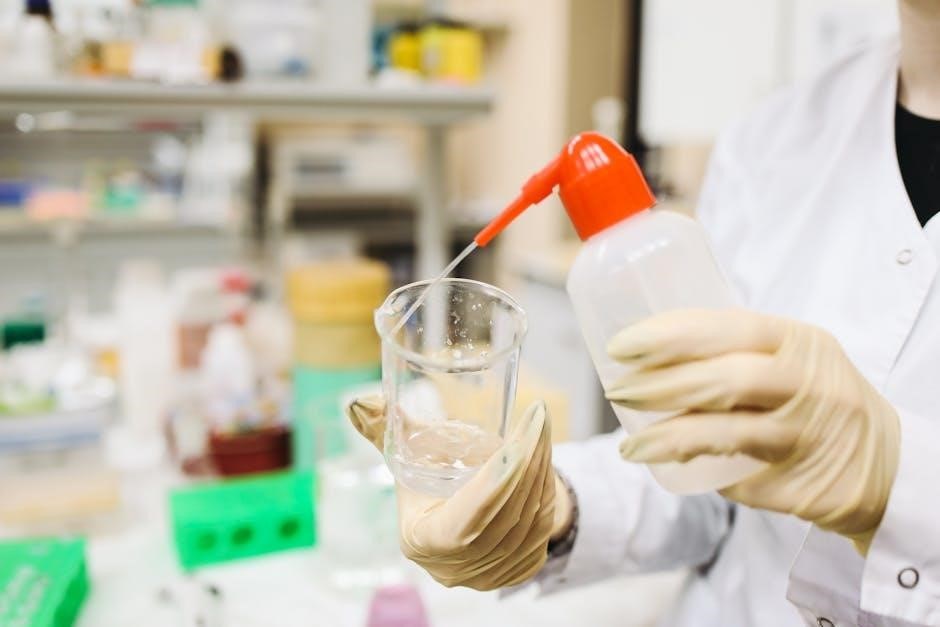
Preparing the Brine Solution
Preparing the brine solution is a critical step in manual regeneration. Start by measuring the recommended amount of salt, typically 15 grams per 250 ml of water, ensuring it is pure and non-iodized. Dissolve the salt in a separate clean container, like a plastic drum, to achieve a 10-15% concentration. Avoid using iodized or additive-enriched salt, as these can damage the resin beads. Once the solution is fully dissolved, pour it into the brine tank. If the tank is empty, add water to the recommended level before introducing the brine mixture. Stir thoroughly to ensure even distribution. Proper brine concentration ensures effective removal of minerals during regeneration. Always follow the manufacturer’s guidelines for the correct salt-to-water ratio to maintain system performance and resin longevity.
Initiating the Regeneration Cycle
Locate and turn the bypass valve to isolate the water softener from your home’s water supply. Ensure the brine solution is prepared and added to the brine tank. If it’s the first time, manually add water to the salt tub. Press and hold the REGEN button for three seconds to start the cycle. You may hear clicks as the system transitions. The regeneration process typically lasts 30 to 120 minutes, depending on the system size. Avoid interrupting the cycle once started. Always follow the manufacturer’s instructions for specific button sequences or knob adjustments, as these may vary. This step ensures the resin bed is properly flushed and rejuvenated, restoring the softener’s efficiency.
Completing the Regeneration Process
Once the regeneration cycle is complete, ensure the system has finished all phases, including rinsing and resetting. Turn the bypass valve back to its normal position to reintegrate the softener into your water supply. Allow the system to stabilize for a few minutes before checking water pressure and quality. Dispose of the brine solution responsibly, as it is high in salt. Finally, refill the salt tank if needed and confirm the softener is ready for normal operation. Regularly completing the regeneration process ensures optimal performance and extends the lifespan of your water softener.
Troubleshooting Common Issues
If the regeneration cycle fails, check salt levels and ensure the valve is in the correct position. For low water pressure, clean or replace the venturi.
What to Do If the Regeneration Cycle Fails
If the regeneration cycle fails, start by checking the salt levels in the brine tank. Ensure the valve is in the correct position and water flow is unrestricted. If the system does not initiate regeneration, press and hold the REGEN button for 3-5 seconds to force the cycle. For manual systems, ensure the bypass valve is set correctly and water flows into the brine tank. If issues persist, clean or replace the venturi valve, as it may be clogged. For systems with digital controls, restart the unit or consult the manual for specific instructions. If the problem continues, professional assistance may be required to diagnose underlying issues.
Addressing Low Water Pressure During Regeneration
Low water pressure during regeneration can disrupt the process and reduce efficiency. First, ensure the bypass valve is fully open and not restricting water flow. Check for clogs in the venturi valve or flow restrictor, as they can impede water circulation. Clean or replace these components if necessary. Verify that the brine tank is filled with water before initiating regeneration, as dry salt can cause low pressure. If using a manual system, ensure the valve is in the correct brine rinse position. For persistent issues, inspect the inlet and outlet lines for kinks or blockages. Consulting the user manual or a professional can help resolve complex pressure-related problems effectively.

Maintenance After Regeneration

After manual regeneration, refill the salt in the brine tank to ensure optimal performance. Check the water softness to confirm effectiveness and schedule future regenerations based on usage.
Refilling Salt and Checking System Performance
After completing manual regeneration, refill the salt in the brine tank to ensure the water softener operates efficiently. Use pure, non-iodized salt for optimal performance. Check the system’s performance by testing water softness and ensuring no leaks or unusual noises. Monitor resin bead condition and replace them if necessary. Regularly inspect the brine tank for proper salt levels and cleanliness. Schedule routine maintenance to prevent mineral buildup and maintain soft water quality. Proper salt refilling and performance checks ensure the water softener continues to function effectively, providing soft water consistently.
Scheduling Regular Maintenance
Scheduling regular maintenance ensures your water softener operates efficiently and prolongs its lifespan. Check salt levels monthly and top up as needed to maintain optimal performance. Inspect resin beads every 1-2 months for signs of wear or contamination. Schedule professional inspections annually to address potential issues before they escalate. Regularly clean the brine tank and ensure proper drainage to prevent mineral buildup. Plan to regenerate the system weekly or bi-weekly, depending on water usage and hardness levels. Consistent maintenance prevents unexpected breakdowns and ensures soft water quality remains consistent. By staying proactive, you protect your investment and maintain the system’s effectiveness over time.