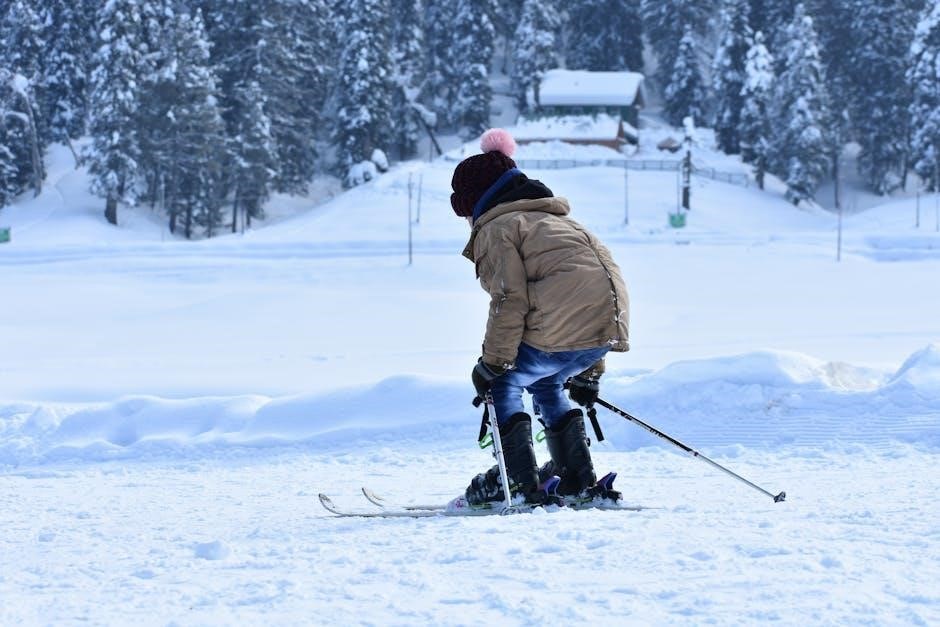
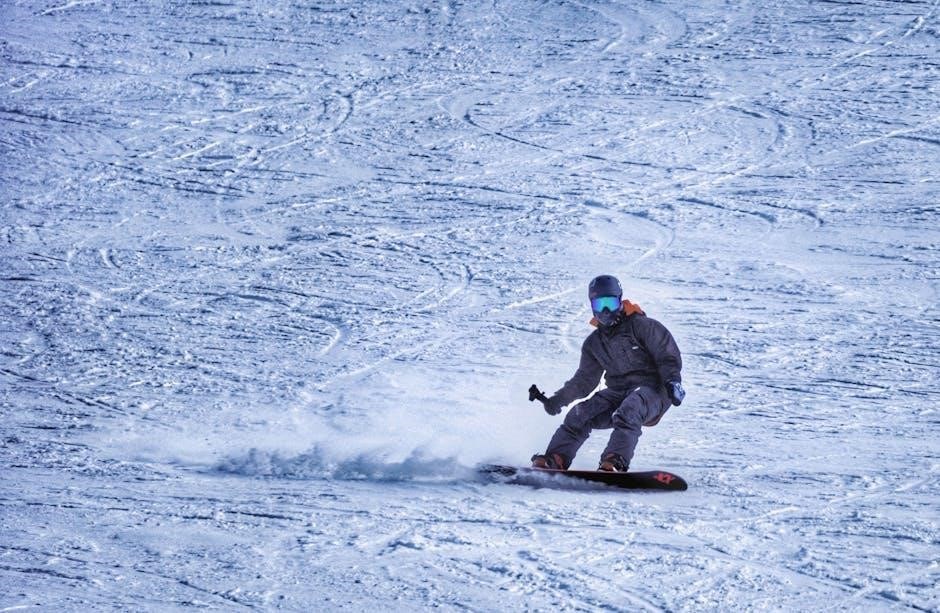
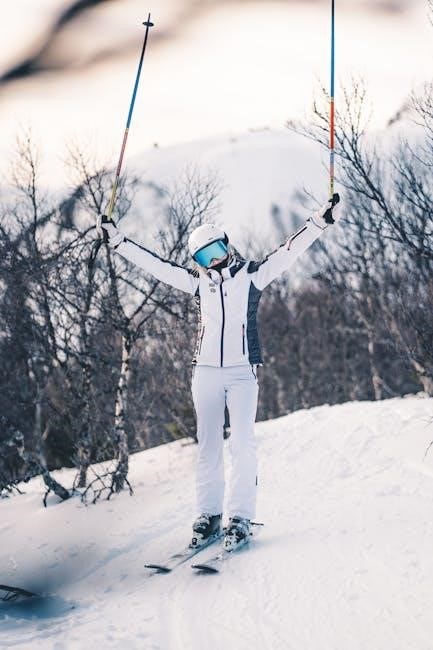
Ski Goggles Size Guide: Finding the Perfect Fit
Ski and snowboard goggles offer vital protection, but a proper fit is paramount for comfort, visibility, and safety on the slopes; this guide will help!
Understanding the Importance of Proper Fit
A correctly fitted pair of ski goggles is absolutely crucial for an enjoyable and safe experience on the mountain. Beyond basic wind and cold protection, a proper seal prevents unwanted elements – like snow, ice, and harsh winds – from entering, ensuring clear and unobstructed vision. This clarity is paramount for navigating varied terrain and changing weather conditions;
Ill-fitting goggles can lead to discomfort, pressure points, and even goggle slippage, constantly requiring adjustment and distracting you from the slopes. Furthermore, a poor fit compromises the effectiveness of UV protection, potentially exposing your eyes to harmful rays. Compatibility with your helmet is also key; gaps between the goggles and helmet can negate the protective benefits of both.
Ultimately, investing time in finding the right fit translates to enhanced performance, increased comfort, and, most importantly, improved safety while enjoying your skiing or snowboarding adventure. Don’t underestimate the significance of a snug, secure, and comfortable fit!
Key Features to Consider Beyond Size
While size is foundational, several other features significantly impact your goggle experience. Lens type and color/tint are critical; clear yellow lenses excel in low visibility, while others suit brighter conditions. Consider interchangeable lenses for versatility. Polarized versus non-polarized options affect glare reduction, and color enhancement technologies boost contrast.
Anti-fog features are essential for maintaining clear vision, and a convenient lens swap system allows quick adjustments. Don’t overlook the value of extra lenses for varying weather. Helmet compatibility ensures a secure, gap-free fit, maximizing protection. Prioritize comfort – look for features like face foam and adjustable straps.
Finally, assess if you require a low bridge fit or Asian fit goggle, designed for specific facial structures. These features, combined with the correct size, will elevate your performance and enjoyment on the slopes, providing optimal protection and clarity;
Measuring Your Face for Ski Goggles
Accurate facial measurements are key to finding the perfect goggle fit, ensuring both comfort and optimal performance while enjoying your time on the mountain.
How to Measure Your Goggle Width
Determining your goggle width is a crucial step in ensuring a comfortable and secure fit. Begin by standing in front of a mirror and holding a ruler or measuring tape to your face. Position the ruler so it extends from your temple to your temple, mirroring where the edges of ski goggles would naturally rest.
Carefully measure the distance between these two points. This measurement represents your goggle width, and it’s essential for selecting goggles that won’t feel too tight or too loose. Remember to measure in millimeters for the most accurate results, as many goggle manufacturers use this unit.
Consider that face shapes vary, and a wider face will naturally require a wider goggle. Conversely, a narrower face will benefit from a smaller goggle width. Using your goggle width measurement, you can then refer to the manufacturer’s sizing charts to find the best fit for your face. A proper width ensures a secure seal and prevents gaps that could compromise your vision and comfort on the slopes.
Determining Your Face Shape
Understanding your face shape is key to selecting ski goggles that complement your features and provide an optimal fit. Common face shapes include oval, round, square, heart, and triangular. To determine yours, stand before a mirror and observe the overall contours of your face.
An oval face is balanced, with a slightly rounded forehead and jawline. Round faces have similar width and height, lacking strong angles. Square faces feature a broad forehead and strong jawline. Heart-shaped faces are wider at the forehead and taper towards the chin. Triangular faces are narrow at the forehead and wider at the jaw.
Once you’ve identified your face shape, you can choose goggles designed to enhance your features. For example, those with round faces might benefit from goggles with angular frames, while square faces may prefer softer, rounded designs. Considering your face shape alongside your goggle width measurement will significantly improve your chances of finding the perfect fit and maximizing your comfort and performance on the mountain.
Ski Goggle Sizing: Frame Size Explained
Frame size is crucial for a comfortable, secure fit; options range from small to extra-large, catering to different face sizes and shapes for optimal performance.
Small Frame Goggles
Small frame goggles are specifically designed for individuals with smaller face sizes, typically those with narrower faces and shorter nose bridge lengths. These goggles prioritize a snug and secure fit, minimizing gaps that could compromise visibility or allow cold air and snow to enter; They are an excellent choice for women, teenagers, and men with smaller facial features.
However, it’s important to note that small frame goggles may not be compatible with larger helmets, so checking for compatibility is crucial before purchasing. While offering a comfortable fit for smaller faces, they might not provide the widest field of vision compared to larger frames. Consider your helmet size and preferred field of view when deciding if small frame goggles are the right option for you. Prioritize a secure seal around your face to maximize protection from the elements and enhance your overall skiing or snowboarding experience.
Medium Frame Goggles
Medium frame goggles represent the most versatile option, catering to a wide range of face sizes and shapes. They strike a balance between a comfortable fit, a broad field of vision, and compatibility with most helmet models. This makes them a popular choice for both men and women with average facial dimensions.
Generally, medium-sized goggles are suitable for individuals with a standard nose bridge length and face width. They offer a good seal without feeling overly tight or restrictive. When selecting medium frame goggles, ensure they comfortably accommodate your cheekbones and don’t create pressure points. Compatibility with your existing helmet is also key – always verify a secure and gap-free fit. Medium frames often provide a sweet spot, delivering both performance and comfort for a diverse group of skiers and snowboarders.
Large Frame Goggles
Large frame goggles are designed for individuals with larger faces, offering a wider field of view and ensuring a comfortable, secure fit. These goggles typically feature a larger lens and a more substantial frame to accommodate broader facial features, preventing goggle gaps and maximizing peripheral vision on the slopes.
If you find that medium-sized goggles feel too small or restrictive, or if you have a prominent nose bridge and wider cheekbones, large frames are an excellent choice. They provide ample space for glasses wearers, too. Prioritize helmet compatibility when selecting large goggles; a proper seal is crucial for both safety and comfort. Ensure the goggles don’t interfere with your helmet’s vents or obstruct your vision. Large frames deliver enhanced coverage and a confident, secure feel for those with larger facial structures.
Extra Large Frame Goggles
Extra large frame goggles cater to those with particularly large faces or individuals who require maximum peripheral vision. These goggles boast the widest lens available, providing an expansive field of view that enhances awareness and safety on the mountain. They are ideal for skiers and snowboarders who prioritize unrestricted visibility in all conditions.
If standard large goggles still feel constricting, or if you have a very broad face and high cheekbones, extra-large frames are the optimal solution. They often accommodate larger helmets with ease and are a great choice for those who wear prescription glasses underneath. As with all sizes, confirm helmet compatibility to ensure a secure and gap-free fit. Extra-large goggles deliver unparalleled coverage and a supremely comfortable experience for those needing maximum space and visibility.
Lens Considerations for Visibility
Lens type, color, and Visible Light Transmission (VLT) are key features impacting visibility; choosing the right lens ensures optimal performance in varying weather conditions.
Visible Light Transmission (VLT)
Visible Light Transmission, or VLT, is a crucial factor when selecting ski goggles, representing the percentage of light that passes through the lens. Understanding VLT helps you choose goggles appropriate for different weather conditions. Lower VLT percentages (around 6-22%) are ideal for bright, sunny days, reducing glare and eye strain. These darker lenses are perfect for conditions with intense sunlight reflecting off the snow.
Conversely, higher VLT percentages (60-90%) are best suited for low-light conditions like overcast days, snowfall, or even night skiing. Clear or yellow lenses maximize light intake, enhancing visibility when light is limited. Mid-range VLT (22-60%) offers versatility for partly cloudy days or variable conditions. Many goggles now feature interchangeable lenses, allowing you to adapt to changing light throughout the day. Considering the typical weather patterns of your ski destination is essential when determining the appropriate VLT for your goggles.
Lens Color and Tint Options
Beyond VLT, lens color significantly impacts visibility and perception on the slopes. Gray lenses are all-purpose, reducing brightness without distorting colors, making them suitable for various conditions. Yellow lenses excel in low light, enhancing contrast and depth perception in fog or snow. Rose, amber, or orange lenses provide excellent contrast and are ideal for partly cloudy days, offering improved visibility in variable light.
Blue lenses are less common but can reduce glare and enhance definition. Mirror coatings aren’t about color but reflect more light, further reducing glare and protecting your eyes. Polarized lenses minimize glare from flat surfaces like snow, improving clarity. Color-enhanced lenses boost contrast and vibrancy, making it easier to spot terrain features. Ultimately, the best lens color depends on your personal preference and the typical weather conditions you’ll encounter while skiing or snowboarding.

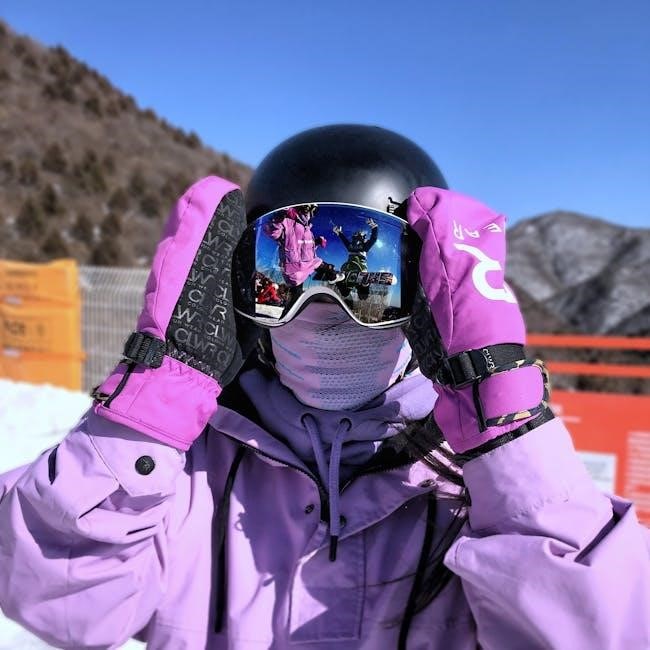
Goggle Compatibility & Comfort
Ensuring ski goggles seamlessly integrate with your helmet and feel comfortable is crucial for an enjoyable experience on the mountain; prioritize both factors!
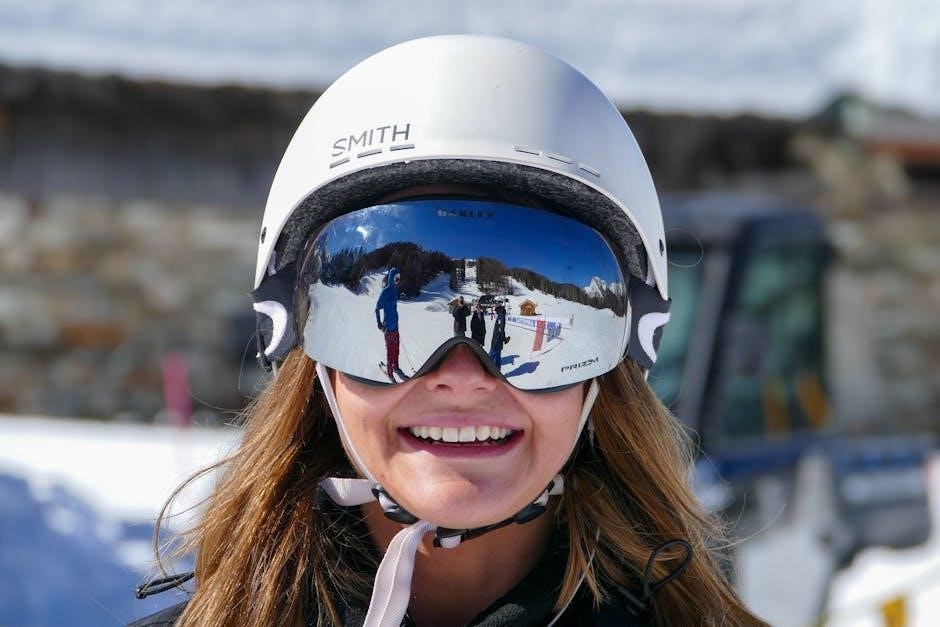
Helmet Compatibility
Ski goggles and helmets are designed to work together, providing comprehensive protection and a secure fit. A crucial aspect of selecting ski goggles is ensuring they are compatible with your helmet, preventing gaps that can compromise safety and comfort. Gaps between the goggles and helmet can allow cold air and snow to enter, reducing visibility and causing discomfort.
To check for compatibility, simply hold the goggles up to your helmet. The goggles should sit snugly against the helmet without any noticeable spaces. Many goggles and helmets are specifically designed to be compatible with each other, often featuring interlocking features or designs. Consider the shape of both the goggles and helmet; a more curved helmet might require goggles with a similar curvature for a seamless fit.
Prioritizing helmet compatibility ensures a secure and comfortable experience on the slopes, allowing you to focus on enjoying your time without worrying about compromised protection or discomfort caused by ill-fitting gear.
Comfort Features: Face Foam & Fit
Beyond size and helmet compatibility, comfort is paramount for enjoyable days on the mountain. Ski goggles utilize face foam – a layer of soft, plush material lining the inner frame – to provide cushioning and a secure, comfortable seal against your face. Different goggles feature varying densities and thicknesses of face foam, impacting overall comfort.
A good fit ensures the goggles don’t pinch or create pressure points. Look for goggles with a contoured frame that conforms to the natural shape of your face. Adjustable straps are essential for fine-tuning the fit, ensuring a snug but not overly tight feel. Proper ventilation also contributes to comfort, preventing fogging and maintaining airflow.
Consider the material of the face foam; some are more moisture-wicking than others. Ultimately, prioritizing comfort features will enhance your experience, allowing you to focus on the slopes rather than discomfort.
Specialized Fits: Low Bridge & Asian Fit
Certain face shapes require specialized ski goggles; low bridge and Asian fit goggles are designed to accommodate lower nose bridges for improved comfort and seal.
What is a Low Bridge Fit?
A low bridge fit addresses a common issue for individuals with a lower nose bridge, where standard ski goggles often sit too far forward, creating a gap under the eyes and compromising the seal. This gap leads to reduced peripheral vision, increased glare, and potential discomfort from wind and snow exposure.
Goggles designed with a low bridge fit feature a shallower frame and are shaped to contour closer to the face, particularly around the nose area. This ensures a secure and comfortable fit, preventing the aforementioned issues. They effectively bridge the gap, providing a snug seal that maximizes protection and enhances visibility.
Identifying whether you need a low bridge fit is simple: if standard goggles consistently slide down your nose or leave a noticeable gap, a low bridge model is likely the solution. These specialized goggles are a game-changer for those seeking optimal performance and comfort on the slopes, ensuring a clear and unobstructed view.
Asian Fit Goggles Explained
Asian fit ski goggles are specifically engineered to accommodate facial features commonly found among individuals of East Asian descent, though beneficial for anyone with similar characteristics. These features often include a wider, flatter face, a lower nose bridge, and more prominent cheekbones – aspects not always optimally addressed by standard goggle designs.
The key differences lie in the frame’s geometry. Asian fit goggles typically boast a wider frame to provide better coverage across the face, preventing peripheral vision obstruction. Crucially, they incorporate a shallower frame depth to avoid pressure on the cheekbones and a modified nose bridge for a more secure and comfortable fit.
Choosing Asian fit goggles eliminates common issues like gapping, pressure points, and fogging, resulting in enhanced comfort, improved visibility, and a more enjoyable skiing or snowboarding experience. It’s about finding a goggle that truly conforms to your face, maximizing both performance and protection.
Adjusting Your Ski Goggles for Optimal Performance
Achieving a perfect ski goggle fit isn’t just about selecting the right size; it’s about fine-tuning them for peak performance. Begin by adjusting the strap – loosen it initially, then tighten to a snug, secure fit over your helmet, ensuring the goggles remain stable during movement. Avoid overtightening, which can cause discomfort and pressure points.
Next, examine the goggle-to-helmet interface. There should be no significant gaps between the goggles and helmet, particularly at the forehead and temples. Some goggles feature outriggers – small extensions on the sides – to facilitate helmet compatibility and even pressure distribution.
Finally, confirm your peripheral vision isn’t obstructed. A properly adjusted goggle should offer a wide, unobstructed field of view. Experiment with minor strap adjustments to optimize the fit and ensure maximum comfort and clarity on the slopes. A well-adjusted goggle enhances safety and enjoyment!